What Is Blazor WebAssembly?
When Microsoft announced Blazor WebAssembly at Build 2020, it sparked genuine excitement across the .NET community. For the first time in the history of the web platform, C# developers could write client-side browser logic without touching a single line of JavaScript. Blazor WebAssembly runs your .NET code directly in the browser using the WebAssembly standard — the same binary instruction format that powers high-performance browser games, video editors, and complex data visualisation tools.
Before Blazor, .NET developers working on web applications had two uncomfortable choices: learn JavaScript or TypeScript to write frontend code, or accept being dependent on separate frontend teams and context-switch constantly between two completely different ecosystems. Blazor eliminates that divide.
At SHIVAM ITCS, we evaluated Blazor WebAssembly in the months immediately following its stable release for several enterprise dashboard projects. The results were compelling enough that I want to share everything we learned — the setup, the component model, the data binding system, authentication integration, and the performance realities developers need to understand before shipping to production.
How Blazor WebAssembly Works Under the Hood
Understanding Blazor's architecture is essential before writing a single line of code. Traditional web frameworks like React, Angular, or Vue compile down to JavaScript bundles that the browser executes natively. Blazor takes a completely different approach.
When a user first visits a Blazor WebAssembly application, the browser downloads a set of files:
- ◆The .NET WebAssembly runtime: A version of the .NET runtime compiled to WebAssembly binary format
- ◆Your application DLLs: The compiled output of your C# code, delivered as standard .NET assemblies
- ◆Referenced NuGet package DLLs: Any libraries your project depends on
- ◆A bootstrapper (blazor.webassembly.js): The thin JavaScript shim that initialises the WASM runtime
After this initial download completes, the .NET runtime executes inside the browser's WebAssembly sandbox. From that point on, your C# code runs locally in the browser. HTTP calls go directly from the browser to APIs. State lives in browser memory. There's no server involved in UI rendering decisions — it's a true single-page application model, just written in C# instead of JavaScript.
The browser's JavaScript engine and the WebAssembly runtime share the same memory space, which is why Blazor's JavaScript interop (calling JS from C# and vice versa) is efficient. There's no serialisation boundary between the two runtimes.
Setting Up Your Development Environment
To get started with Blazor WebAssembly, you must first verify that you have the appropriate SDK installed. Blazor WASM applications compile code to Intermediate Language (IL) that is executed by the WebAssembly-based .NET runtime, meaning your development machine requires the .NET SDK tools to compile and pack these files correctly.
Verify your .NET installation by running this command in your terminal:
dotnet --version
# Should output 5.0.x or later
This command checks for the presence of the .NET CLI tools on your system. If the command fails or returns an older version, visit the official .NET website to download the latest SDK. For modern enterprise production, using the long-term support (LTS) releases like .NET 8 or 9 is highly recommended as they bring significant compilation and tooling stability.
Creating Your First Blazor WASM Project
The .NET CLI provides standard project templates that set up all configurations, boilerplates, and build pathways. You can create either a standalone client application or a hosted solution that integrates a client-side frontend directly with an ASP.NET Core server-side backend.
Run the following commands to create and run your projects:
# Standalone WASM app (no ASP.NET Core server)
dotnet new blazorwasm -o MyBlazorApp
cd MyBlazorApp
dotnet run# Hosted WASM app (with ASP.NET Core backend for APIs)
dotnet new blazorwasm -o MyBlazorHostedApp --hosted
cd MyBlazorHostedApp
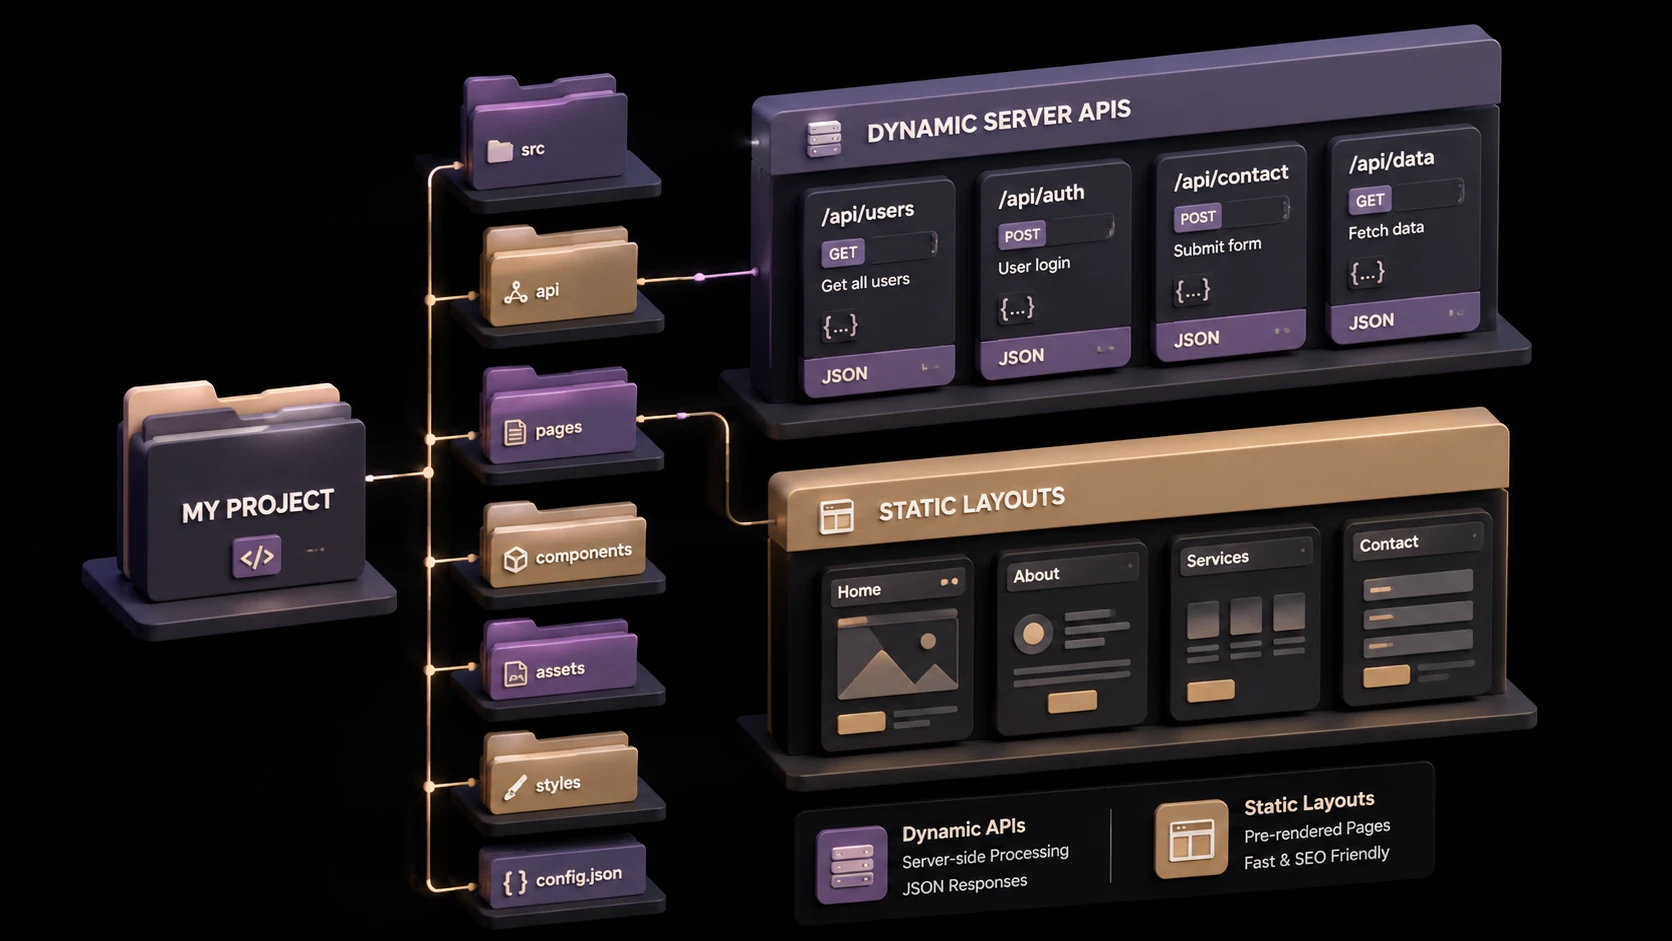
dotnet run --project ServerThe --hosted flag creates a clean three-project solution structure:
- ◆Client contains the actual Blazor WebAssembly application running inside the browser.
- ◆Server is an ASP.NET Core host that acts as a web host and exposes API controller endpoints.
- ◆Shared is a class library holding models, dto structures, and validation rules shared natively between Client and Server, avoiding duplicate schema definitions.
Understanding the Blazor Component Model
Blazor's user interface is constructed using reusable UI components defined in .razor files. These files combine standard HTML tags with razor template syntax and C# backing code. Let's look at a simple interactive counter component to see how state updates are handled:
@page "/counter"

<PageTitle>Counter</PageTitle>

<h1>Counter</h1>
<p role="status">Current count: @currentCount</p>
<button class="btn btn-primary" @onclick="IncrementCount">Click me</button>

@code {
    private int currentCount = 0;

    private void IncrementCount()
    {
        currentCount++;
    }
}
In this component, the @page directive registers the URI route. The @onclick directive binds the button click event directly to the C# method IncrementCount. When this method executes and modifies the currentCount variable, Blazor registers that component state has changed. It recalculates the virtual representation of the component DOM, performs a diff with the current UI layout, and renders only the changed nodes in the browser DOM. This keeps UI rendering responsive without heavy paint cycles.
Component Lifecycle Methods
Writing correct enterprise web applications requires a solid grasp of how components initialize, react to parameters, render, and clean up resources. Blazor exposes asynchronous hooks to intercept these key moments in a component's lifecycle:
@code {
    // Called once — synchronous setup, no async operations
    protected override void OnInitialized()
    {
        // Set default state values
    }

    // Called once — ideal for async data loading
    protected override async Task OnInitializedAsync()
    {
        products = await Http.GetFromJsonAsync<List<Product>>("api/products");
    }

    // Called every time parameters change
    protected override void OnParametersSet()
    {
        // React to parameter changes
    }

    // Called after each render — use for JS interop that needs the DOM
    protected override async Task OnAfterRenderAsync(bool firstRender)
    {
        if (firstRender)
        {
            await JSRuntime.InvokeVoidAsync("initializeChart", "chart-canvas");
        }
    }

    // Clean up subscriptions, timers, connections
    public void Dispose()
    {
        timer?.Dispose();
    }
}
OnInitializedAsync is the standard location for fetching API payloads. OnParametersSet executes whenever parent components update their parameters, ensuring child components refresh their UI accordingly. OnAfterRenderAsync is crucial because browser-specific assets (like canvas rendering contexts or DOM nodes) are only available after the render tree is painted, making it the correct spot for JavaScript interop logic.
Data Binding — Two-Way and One-Way
Synchronizing input fields with variable state is a core frontend requirement. Blazor supports one-way binding to render variables, and two-way binding to immediately capture user input and write it back to fields:
@* One-way: display a value *@
<p>Hello, @username!</p>

@* Two-way: input is bound to C# property *@
<input @bind="username" />

@* Two-way with oninput — updates on every keystroke, not just on blur *@
<input @bind="searchTerm" @bind:event="oninput" />

@* Binding to complex objects *@
<select @bind="selectedCategory">
    @foreach (var cat in categories)
    {
        <option value="@cat.Id">@cat.Name</option>
    }
</select>

@code {
    private string username = string.Empty;
    private string searchTerm = string.Empty;
    private int selectedCategory;
    private List<Category> categories = new();
}
By default, @bind updates the property only when the element fires its onchange event (usually when the input box loses focus). By adding @bind:event="oninput", we instruct Blazor to bind on every keystroke, which is essential for responsive real-time search bars, auto-completions, and inline validation checkmarks.
Component Communication: Parameters and EventCallbacks
To write modular systems, components must remain independent. We coordinate components by passing parameters down from parents to children, and bubbling events up from children back to parents using callbacks:
@* ProductCard.razor — child component *@
<div class="card">
    <h3>@Product.Name</h3>
    <p>@Product.Price.ToString("C")</p>
    <button @onclick="AddToCart">Add to Cart</button>
</div>

@code {
    [Parameter] public Product Product { get; set; } = default!;
    [Parameter] public EventCallback<Product> OnAddToCart { get; set; }

    private async Task AddToCart()
    {
        await OnAddToCart.InvokeAsync(Product);
    }
}@* ProductList.razor — parent component *@
@foreach (var product in products)
{
<ProductCard Product="product" OnAddToCart="HandleAddToCart" />
}
@code {
private async Task HandleAddToCart(Product product)
{
await CartService.AddAsync(product);
cartItemCount++;
}
}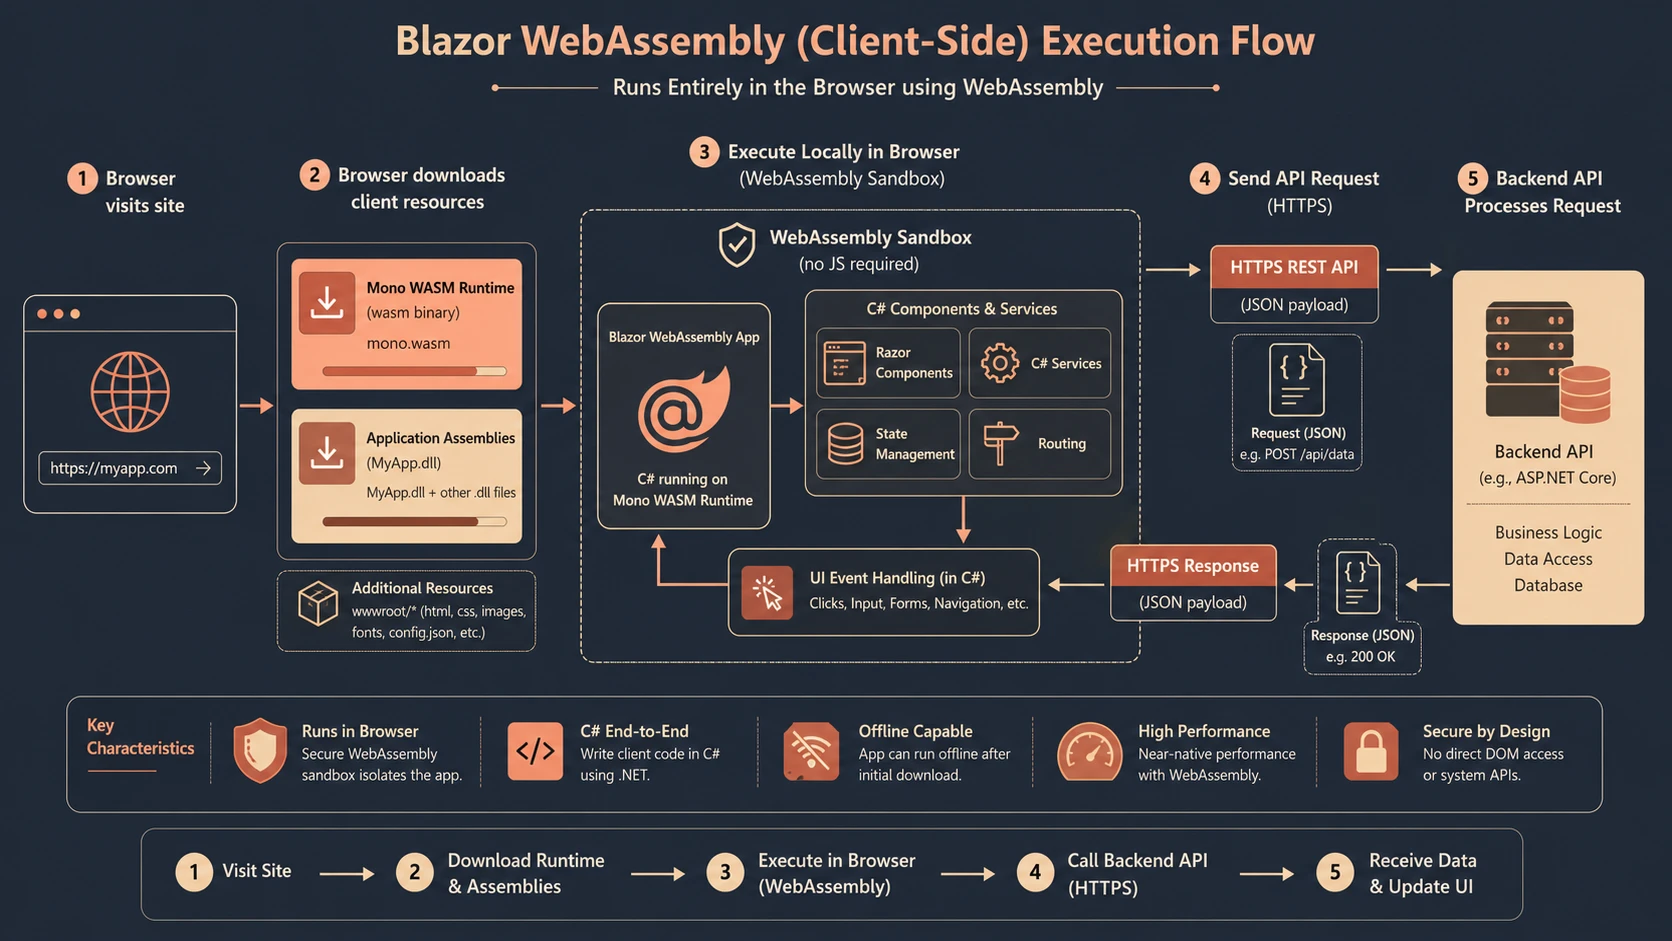
Blazor WebAssembly client-side execution lifecycle and architecture.
The child component ProductCard marks its input property with the [Parameter] attribute. To emit notifications, it declares an EventCallback<T>. When the user clicks the add-to-cart button, the child executes InvokeAsync(), passing the target product. The parent component ProductList intercepts this event, executes its handler HandleAddToCart, updates the central cart state, and triggers a layout re-render.
Calling APIs from Blazor WebAssembly
Because Blazor WebAssembly runs inside the user's browser, it must communicate with backend services via web requests. The client framework registers a pre-configured HttpClient inside the dependency injection container to handle JSON transfers:
@inject HttpClient Http

@code {
    private List<Product> products = new();
    private bool isLoading = true;
    private string? errorMessage;

    protected override async Task OnInitializedAsync()
    {
        try
        {
            products = await Http.GetFromJsonAsync<List<Product>>("api/products") ?? new();
        }
        catch (HttpRequestException ex)
        {
            errorMessage = $"Failed to load products: {ex.Message}";
        }
        finally
        {
            isLoading = false;
        }
    }

    private async Task CreateProduct(ProductCreateDto dto)
    {
        var response = await Http.PostAsJsonAsync("api/products", dto);
        if (response.IsSuccessStatusCode)
        {
            var created = await response.Content.ReadFromJsonAsync<Product>();
            products.Add(created!);
        }
    }
}
The @inject directive requests the HttpClient from the runtime service container. GetFromJsonAsync handles fetching, parsing HTTP response headers, checking status, and deserializing the raw JSON body directly into typed C# lists. It is best practice to wrap operations in try-catch blocks to protect the UI against server offline scenarios.
Dependency Injection in Blazor
Blazor WebAssembly fully supports the native Microsoft extensions dependency injection package. Service lifetimes are configured in Program.cs during app initialization to decouple component views from concrete data providers:
// Program.cs
var builder = WebAssemblyHostBuilder.CreateDefault(args);
builder.RootComponents.Add<App>("#app");

// Configure typed HttpClient
builder.Services.AddHttpClient<IProductService, ProductService>(client =>
{
    client.BaseAddress = new Uri(builder.HostEnvironment.BaseAddress);
});

// Register application services
builder.Services.AddScoped<ICartService, CartService>();
builder.Services.AddSingleton<IUserPreferenceService, UserPreferenceService>();

// Authentication
builder.Services.AddOidcAuthentication(options =>
{
    builder.Configuration.Bind("Auth0", options.ProviderOptions);
});

await builder.Build().RunAsync();
In client-side WebAssembly, AddScoped registers services that live as long as the user's active browser tab, while AddSingleton provides a single instance shared across all page navigations. Registering services under abstractions (e.g., ICartService mapping to CartService) makes components easily testable using mock objects.
Authentication and Authorization
Securing pages is a primary requirement for enterprise portals. Blazor WebAssembly handles client-side security by integrating with OpenID Connect providers like Azure AD, Auth0, or Okta. The UI uses declarative views to filter access based on user authorization claims:
@* Protect a route — redirect to login if not authenticated *@
@attribute [Authorize]
@page "/my-orders"

<AuthorizeView>
    <Authorized>
        <p>Welcome, @context.User.Identity?.Name!</p>
        <OrderList />
    </Authorized>
    <NotAuthorized>
        <p>Please <a href="authentication/login">log in</a> to view your orders.</p>
    </NotAuthorized>
</AuthorizeView>

@* Role-based authorization *@
<AuthorizeView Roles="Admin,Manager">
    <Authorized>
        <AdminPanel />
    </Authorized>
</AuthorizeView>
The [Authorize] attribute blocks unauthenticated users at the routing level. Within components, the AuthorizeView exposes <Authorized> and <NotAuthorized> templates. For role-based restrictions, the Roles parameter filters access to administrative tools seamlessly.
State Management in Blazor WASM
Unlike traditional server-rendered websites, single-page applications run completely inside browser memory. To maintain state (like items in a cart) across separate page navigations without constantly hitting APIs, we use an in-memory service combined with a notifier pattern:
// AppState.cs
public class AppState
{
    private int _cartItemCount;
    public int CartItemCount
    {
        get => _cartItemCount;
        set
        {
            _cartItemCount = value;
            NotifyStateChanged();
        }
    }

    public event Action? OnChange;
    private void NotifyStateChanged() => OnChange?.Invoke();
}

// In a component:
@inject AppState State
@implements IDisposable

<span>Cart (@State.CartItemCount)</span>

@code {
    protected override void OnInitialized()
    {
        State.OnChange += StateHasChanged;
    }

    public void Dispose()
    {
        State.OnChange -= StateHasChanged;
    }
}
The AppState service acts as the source of truth. When a component modifies CartItemCount, the service invokes the OnChange event. All components subscribed to this event call StateHasChanged() to re-render, ensuring the header cart counter stays in sync with the product list.
Performance Optimisation
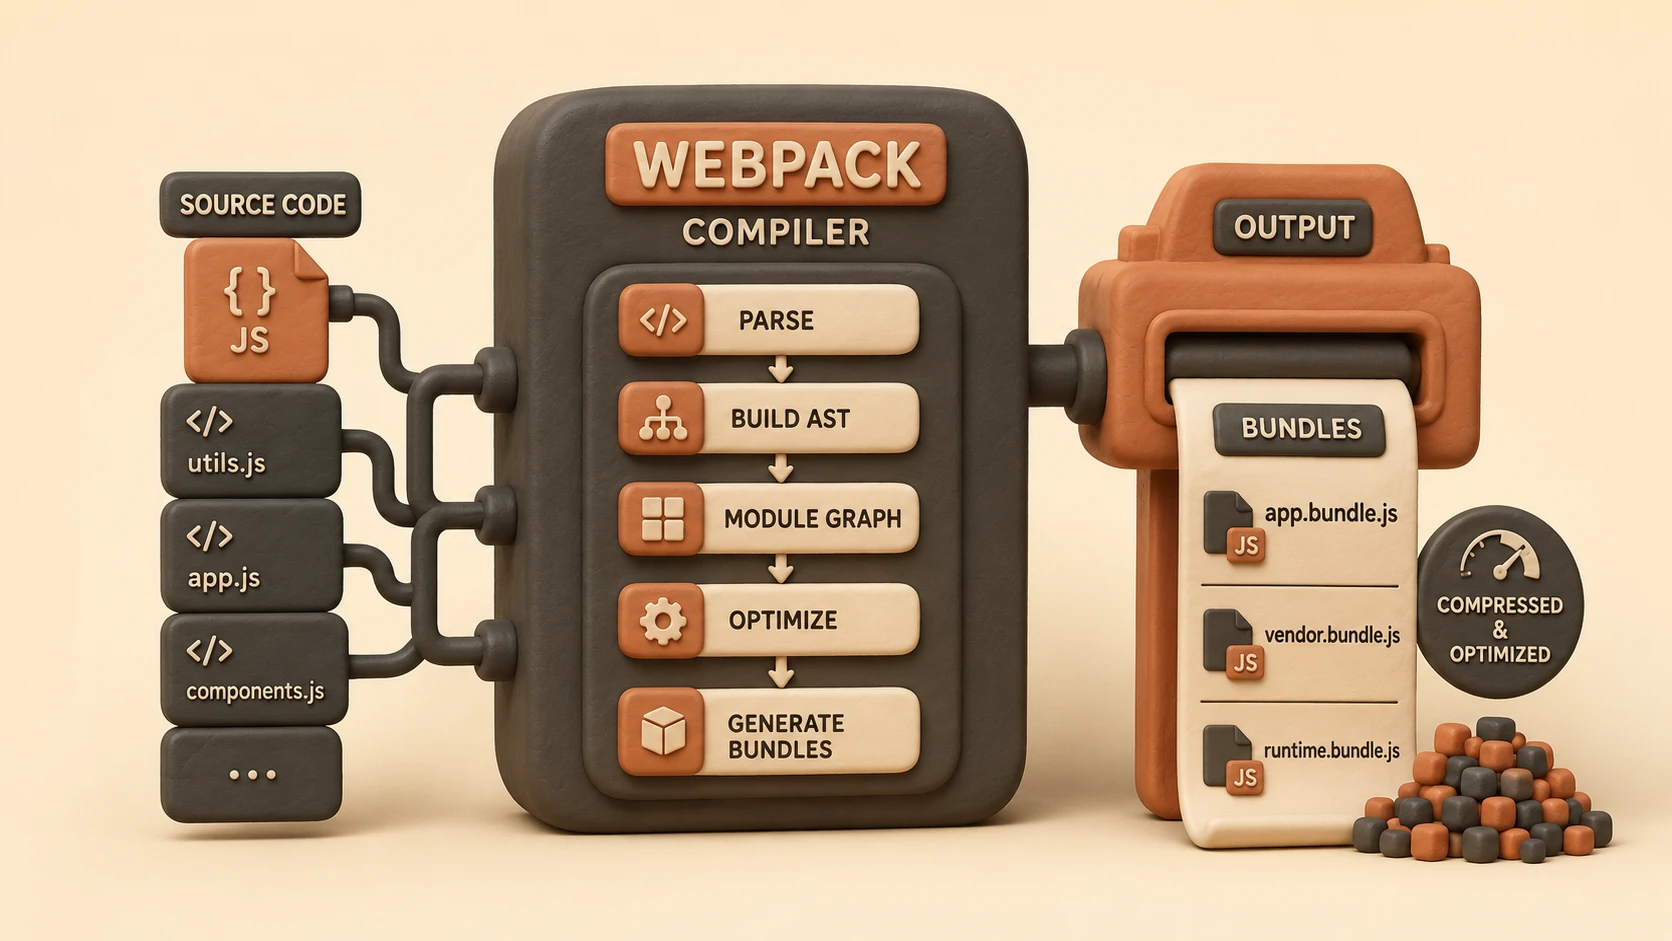
Because Blazor WebAssembly downloads the entire .NET runtime to the browser, optimizing download payload size is critical. The compiler and host settings must be tuned to minimize network transfer times:
- ◆Enable Brotli compression: Compresses assets up to 80% compared to raw binaries.
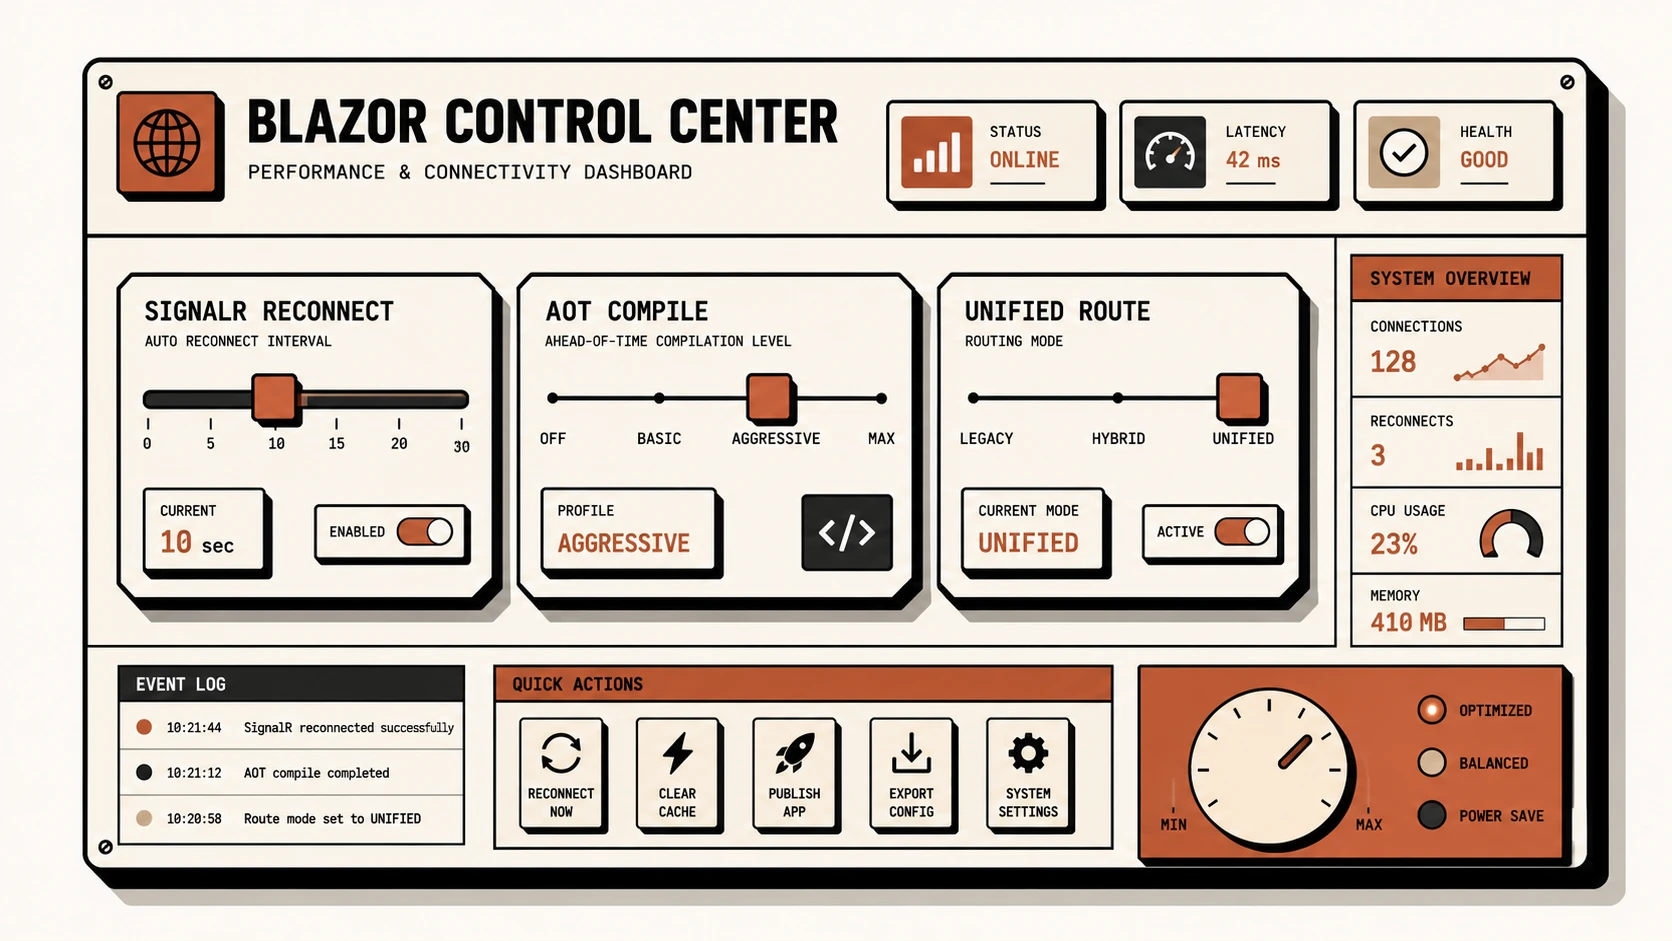
- ◆AOT compilation: Compiles C# Intermediate Language (IL) directly to WebAssembly machine code, boosting speed at the cost of a larger download.
- ◆IL Trimming: Analyzes code dependency graphs and strips out unused classes and methods from .NET libraries.
<!-- In your .csproj for optimised publish -->
<PropertyGroup>
  <PublishTrimmed>true</PublishTrimmed>
  <RunAOTCompilation>true</RunAOTCompilation>  <!-- .NET 6+ -->
</PropertyGroup>
These build configurations instruct the SDK to trim unused namespaces and pre-compile the execution pathways, striking the perfect balance between startup time and runtime efficiency.
PWA (Progressive Web App) Support
For offline-first capabilities, Blazor supports Progressive Web App configurations. A service worker acts as a network proxy to cache assets, enabling the app to run offline:
dotnet new blazorwasm -o MyPwaApp --pwaThis template generates service workers, manifest files, and cache definitions out of the box, allowing users to install the application to their home screen or desktop and launch it without active network connections.
JavaScript Interop
When you need browser capabilities or JS libraries not yet exposed in .NET (like geolocation, web camera access, or third-party chart engines), you can invoke JS directly using the JavaScript runtime interop bridge:
@inject IJSRuntime JS

// Call a JavaScript function from C#
await JS.InvokeVoidAsync("showToast", "Saved successfully!");

// Get a return value from JavaScript
var scrollTop = await JS.InvokeAsync<int>("getScrollTop");// JavaScript side
window.showToast = (message) => {
Toastify({ text: message }).showToast();
};
window.getScrollTop = () => document.documentElement.scrollTop;Using IJSRuntime, your C# code handles scheduling, marshalling arguments, and converting returned JS variables back to typed C# variables without serialisation boundaries.
When Should You Choose Blazor WASM?
Based on our production deployments at SHIVAM ITCS, Blazor WebAssembly is the right choice when:
- ◆Your engineering team is primarily .NET/C# developers — the productivity gains from eliminating JavaScript context-switching are substantial
- ◆You are building internal enterprise dashboards or admin portals where initial load time of a few seconds is acceptable
- ◆You need offline or PWA capabilities
- ◆You want to share complex business logic, validation rules, and domain models between client and server without duplication
- ◆You are hosting on a CDN or static hosting such as GitHub Pages, Azure Static Web Apps, or Cloudflare Pages — Blazor WASM deploys as a static file set
It is a less ideal choice for public-facing marketing sites requiring SEO, or consumer apps where mobile web performance on low-end Android devices is a hard requirement.
Conclusion
Blazor WebAssembly is a genuine paradigm shift for .NET developers. Rather than learning a second programming language ecosystem for the browser, you can leverage your existing C# expertise end-to-end — from database schema through API through to the UI running in the user's browser. The shared code story alone eliminates entire categories of bugs that plague traditional SPA architectures.
At SHIVAM ITCS, we have used Blazor WASM successfully for internal tooling, client-facing dashboards, and enterprise portals where the team's .NET background gave us a significant velocity advantage. With .NET 8 and beyond bringing unified rendering modes and dramatic performance improvements, the case for Blazor in the enterprise gets stronger with every release.
If you are a .NET developer who has been avoiding web frontend work because of JavaScript, now is the time to give Blazor a serious look. The learning curve is measured in hours, not weeks — because the C# you already know is all you need.